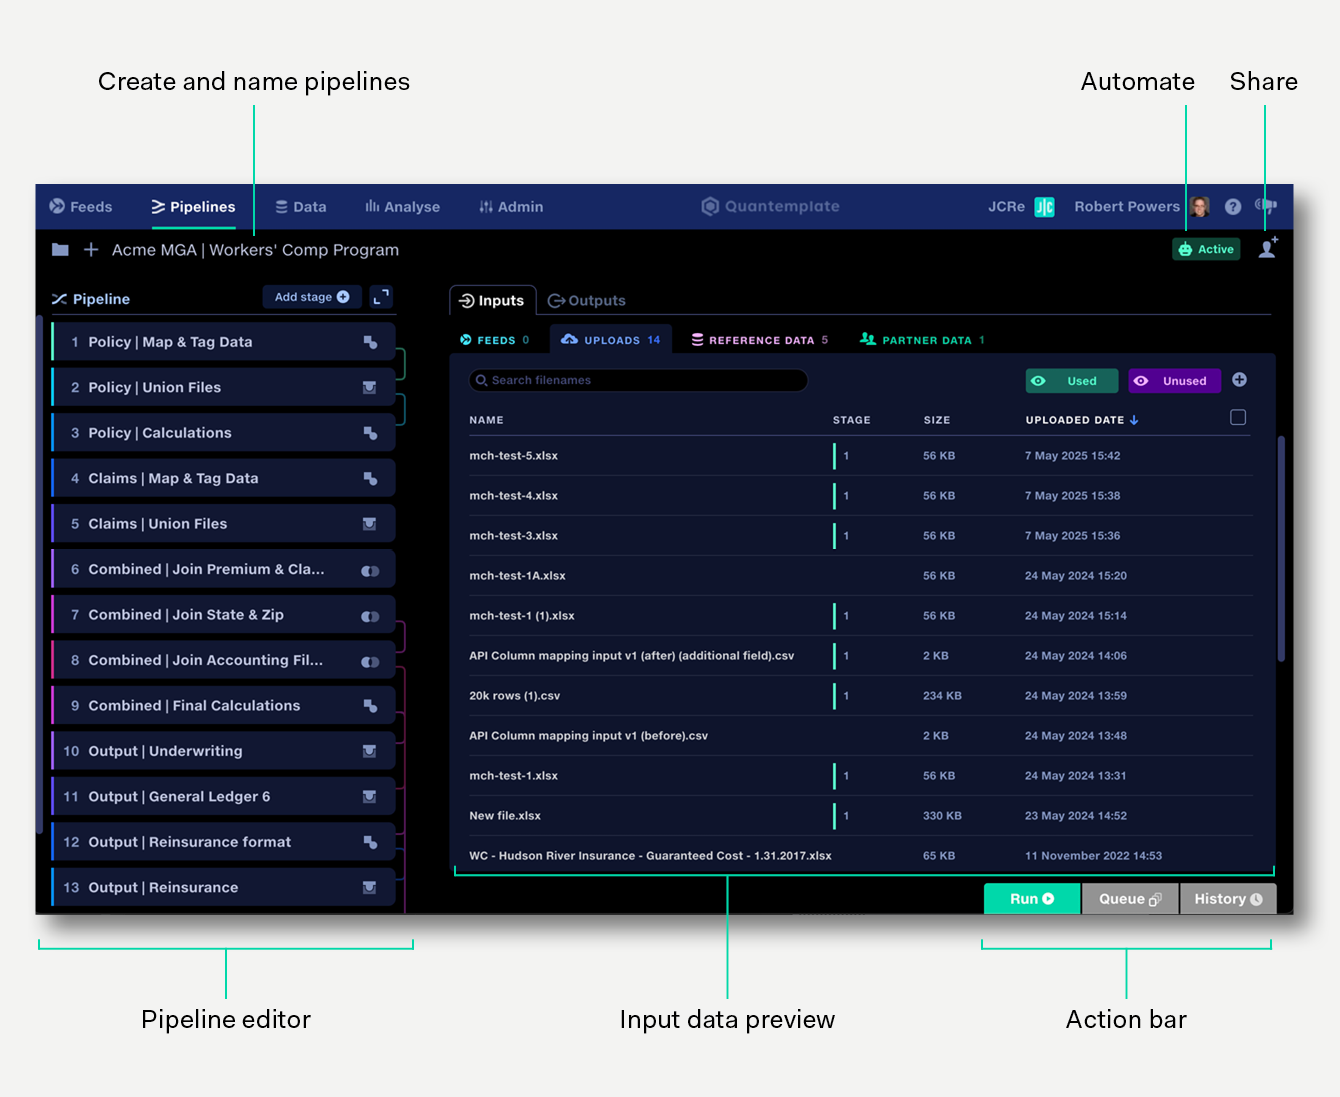


The pipelines workspace is formed of:
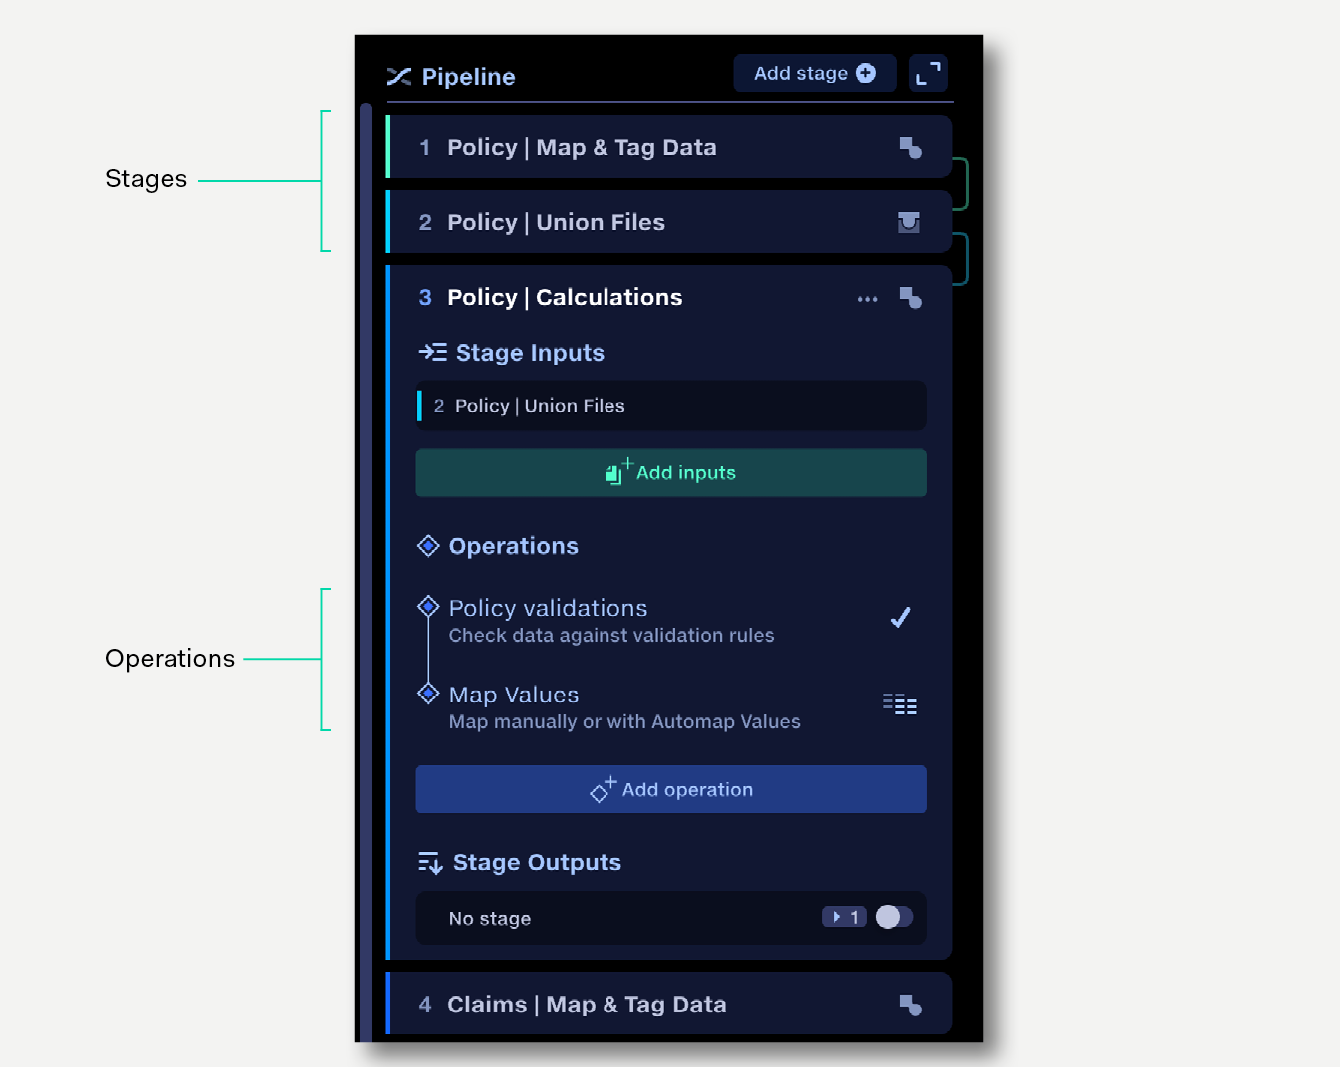
View and edit your data transformations as a sequence of collapsible stages and operations.

Structure your data transformations with Join, Union and Transform stages.
Within a Transform stage, use sequences of Operations to apply transformations to your data.
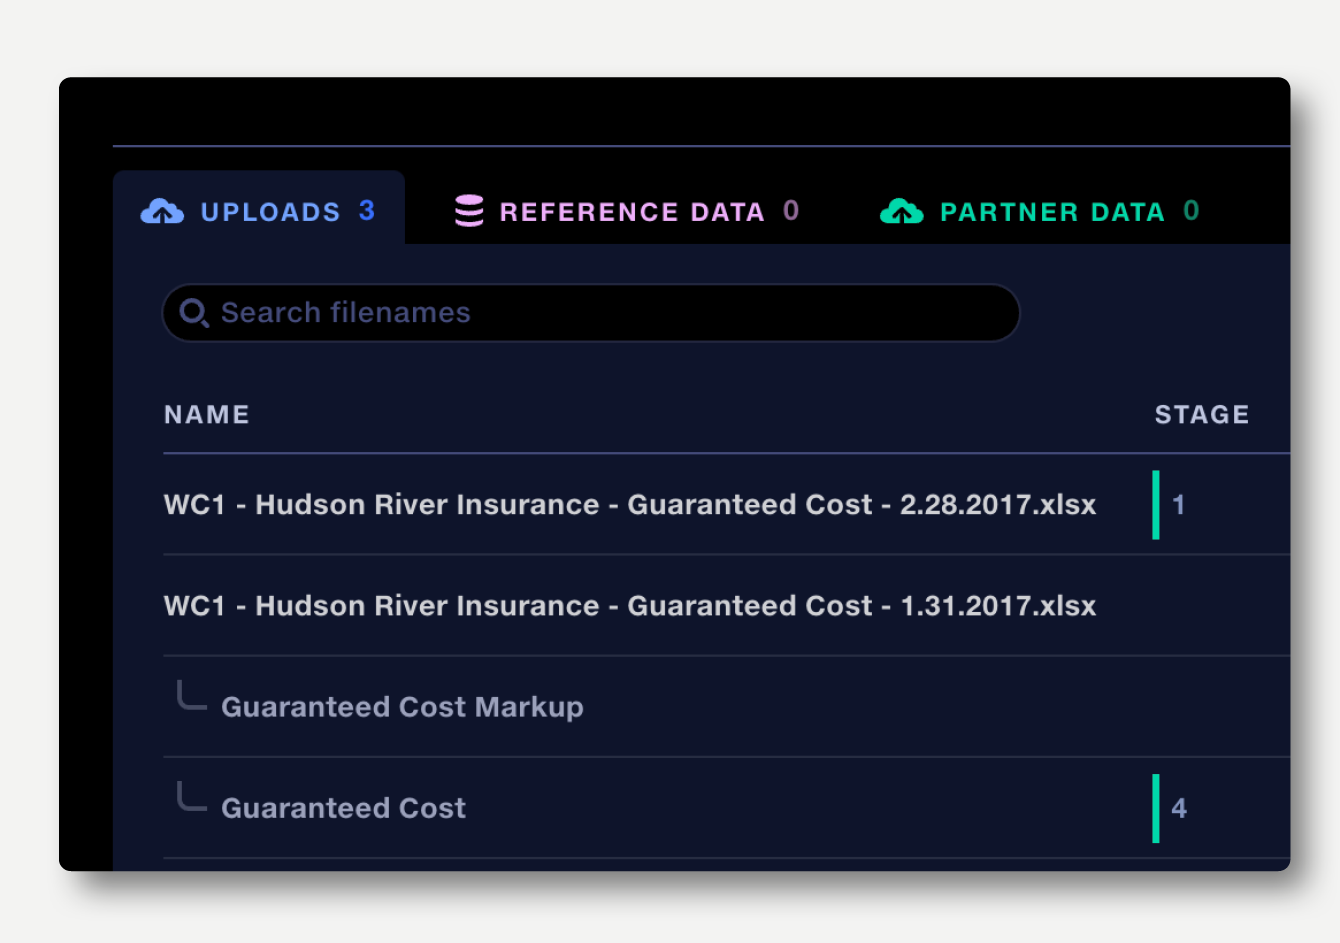
In the Pipeline view, the main panel contains tabs to manage pipeline inputs: uploads, reference datasets and partner data, allowing you to add, view and manage files used in the current pipeline. See the pipeline inputs page for more details.

A summary of all outputs of the pipeline, including validation reports, mapping reports, output datasets, the run log and results of previous runs.
See the pipeline outputs page for more details.

Run the pipeline to perform the data transformations and create the output datasets, validation report and mapping reports. Running the pipeline will open the Run Log popup, from where the results of previous pipeline runs can be viewed, shared or downloaded. Learn more pipeline runs.
If the pipeline has been set to Auto Run, or can be run via API, it can receive multiple instructions to begin a run. Upcoming runs are placed in a queue, which can be managed via the queue popup.
Every time a user makes an edit or causes a trace to run, the pipeline is automatically saved and a new version is recorded. The history panel records the versions and allows rollback to previous versions. Learn more about history.

Click the folder button to view and manage all your pipelines.
Click the + button to create a new pipeline.
Click the pipeline name to rename your pipeline.
Learn more about creating, naming and managing pipelines.